Six Important Steps of 3D Product Rendering
Six Important Steps of 3D Product Rendering
3D Product Rendering is a process of using specialized
software to generate 3d realistic or non-realistic images of an object/product.
Such images are impactful, appealing, and can be displayed from various
perspectives. The image rendering process is quite crucial for the product
photography of eCommerce companies. One question that must be popping in your
mind is how does 3D product rendering work? What are the steps, and so on? This
article will all these popping questions and will provide you with the six
important steps of 3D product rendering. So, let's get started!
What is 3D product rendering?
It is mainly a process of product digitization into three
dimensions to give it a dynamic and realistic look & feel. This process is
completed using various advanced digital software such as Maya, 3DMax, etc.
Without any more delay, let us quickly jump on to the complete steps of 3D
product rendering.
Six Steps of 3D Product Rendering
Step 1: Product Modelling
In this step, the targeted product is prepared for rendering
by preparing it as a model object. With the use of rendering software, the
product stricture in a 3D format is created through mathematical notations. At
the end of this step, the 3D model is created.
Step 2: Texturing of the object
Once the 3D model is ready, tools are used to texture the
model and apply CG effects on the same. Appealing computer graphics are used to
create a realistic image of the product.
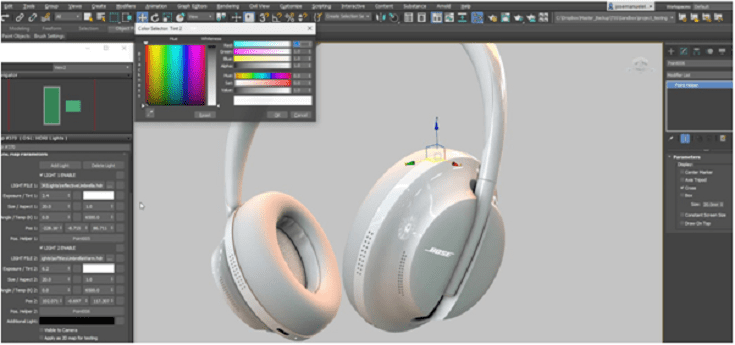
Step 3: Lighting arrangements
After doing the process of texturing, lighting arrangements
are made to give it a dramatic feel. Color theme, base, background, and
surroundings are edited to keep everything in synchronization with the product
image.
Step 4: Setting of camera views
The next step is setting the camera views to provide a complete
3D display of the targeted product to the audience. This step plays a vital
role due to its final impact on shopping enthusiasts' minds.
Step 5: CG Rendering
In this step, 3D models are converted into 2D images using
the required tools and software.
Step 6: After Production
After the completion of all the above-mentioned steps, some
additional visual effects are added, editing is made to give a final touch to
the product. At this step, the software of Adobe Photoshop plays quite a
crucial role.
Conclusion
In this article, we mentioned six vital steps that sum up
the entire process of 3D Product Rendering using different techniques and
tools. Although the steps seem precise, it involves lots of expertise and
creativity. If you are willing to get your product 3D rendering done by a team
of experts, the team of Radiance Vision can help you out with this. To get our
3D Product Rendering services, visit our site for more info.
http://www.radiancevision.co.in/