HOW TO CREATE YOUR OWN MOTION GRAPHICS TEMPLATE
HOW TO CREATE YOUR OWN MOTION GRAPHICS TEMPLATE
Do you hate it when you have to open After Effects every time you want to adjust your graphics? Well, then your answer lies in creating your own motion graphic templates.
One demand of your production process (which is frustrating enough) is having to shuffle between all of your programs. Usually you require two or three programs to open at a time to get things done simultaneously. Now if you are creating an animated series or something of that kind, that template of yours, you are going to use multiple times in a video. So, a brilliant way to cut down on time is to build it in After Effects followed by creating an Essential Graphics template that you can use and customize directly in Premiere.
Confused? Well, here’s how to make it work.
Creating your Graphic in After Effects
One of the best uses for these templates is a lower third. When working with a video that has legion of lower thirds, the capability of Premiere to edit names and descriptions can save tons of time.
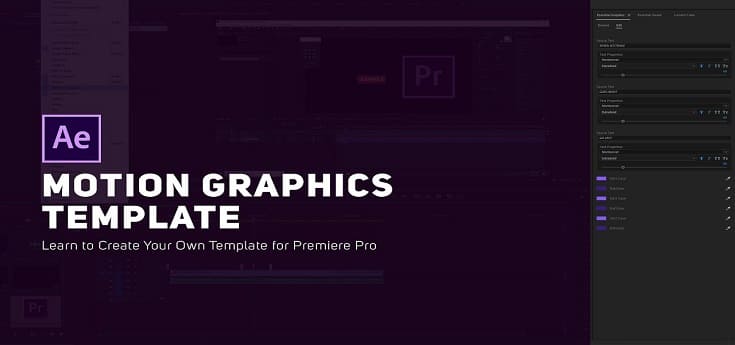
- The first thing that you have to do is open up the Essential Graphics panel in one of your lower thirds AE projects.
- Select your composition in the “Master” drop down menu.
- Go ahead and name your graphic in the box above.
- To bring out the properties you’d like to be able to manipulate, click the “Solo Selected Properties” button.
Once you do this, all available properties in your timeline will appear so that you can control these in Premiere. For this specific lower third, we want the ability to edit both selections of text, as well as the color of the line. For this, all that needs to be done is dragging the property from the timeline to the Essential Graphics panel.
Once you get all your properties in the essential graphics panel, you can rename them so you can recognize them when you come back to work or if a third person open them in Premiere. In case your properties and complex and you need to add notes or something, you can go ahead and add comments to help you remember the fine details! Also, you need to make sure that you can recognize your template in premiere if two templates have similar names. This can be solved by using a thumbnail. You have to adjust the thumbnail using the “Set Poster Time” button. It will take a thumbnail from wherever your play head is on your timeline.
After you have everything included onto your Essential Graphics panel, it’s time to export it by clicking “Export Motion Graphics” in the lower right hand side of the panel. It will export your template as a .MOGRT file (Motion Graphics Template).
We at Radiance Vision are situated in Mumbai, Vashi and Thane. We are Committed to providing high-quality service to our clients in fields related to digital marketing, video
production etc. Our services through our various plans and packages related to SEO services, SEM Services, SMM Services, Corporate Film Makers, Motion Graphics, Visual Effects, 2D 3D Animations with the trends in the society such that our services are one of the most sought not only by people in and around Mumbai, Vashi and Thane but by people all around the world too.